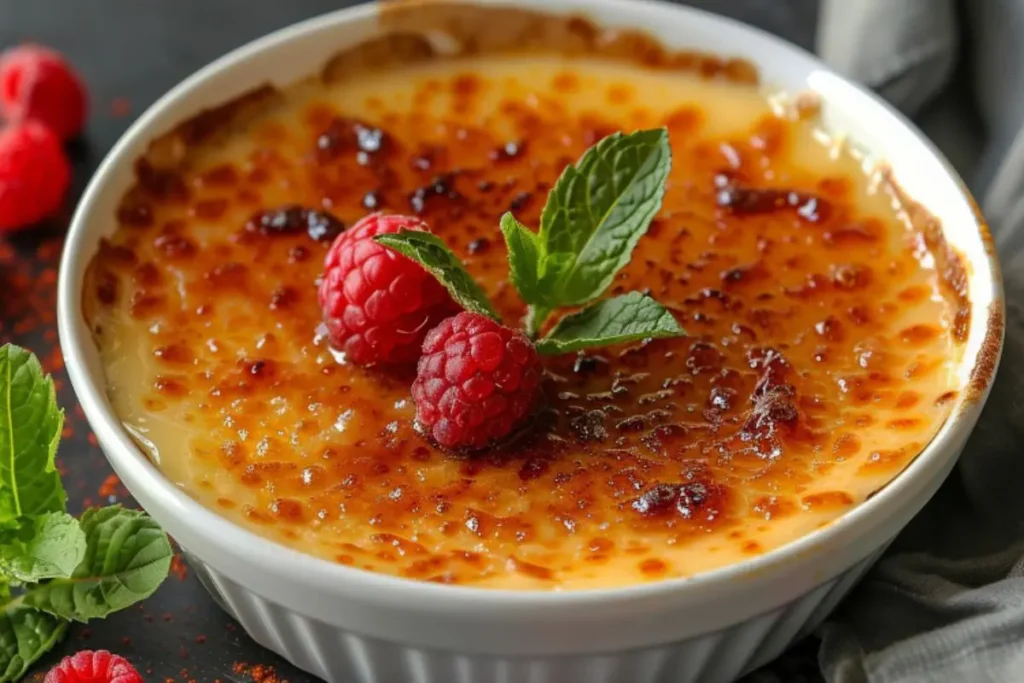
Crème brûlée is one of the most elegant and satisfying desserts, celebrated for its creamy custard base and crisp caramelized sugar topping. Moreover, the process of learning how to caramelize brûlée is an art that not only improves its texture but also deepens its flavor. By mastering this skill, you can improve your cooking and impress your guests with a professional-quality dessert.
The Science of How to Caramelize Brûlée
Caramelization is a fascinating chemical reaction that occurs when sugar is heated to high temperatures. As the sugar melts, it gradually transforms into a golden, glass-like layer. This transformation creates complex flavors, including hints of toffee and butterscotch, which make crème brûlée irresistibly delicious. Because of this, knowing how to caramelize brûlée properly is essential for creating a perfect dessert.
Why Caramelization Matters in Crème Brûlée
The caramelized topping serves multiple purposes. First, it provides a satisfying crunch that contrasts beautifully with the soft custard beneath. Additionally, it adds depth to the dessert by balancing sweetness with subtle bitterness. If you want to learn more about how caramelized toppings differ across desserts, check out the Difference Between Crème Brûlée and Custard for a detailed comparison.
Tools and Ingredients to Caramelize Brûlée Perfectly
Before diving into the caramelization process, it is important to have the right tools and ingredients. Without them, achieving the perfect brûlée topping can be challenging.
Tools Needed for How to Caramelize Brûlée
- Culinary Torch: A butane or propane torch is the most precise tool for caramelizing sugar evenly.
- Broiler or Stovetop: These are suitable alternatives for those without a torch.
- Ramekins: Heatproof ceramic dishes are ideal for holding custard.
- Heatproof Surface: Always use a sturdy, fireproof area for safety.
Best Ingredients for a Perfect Brûlée Topping
- Granulated Sugar: This sugar type caramelizes evenly and creates a smooth, glass-like crust.
- Turbinado Sugar: If you prefer a deeper flavor, turbinado sugar is an excellent option.
- Optional Additions: Adding a touch of cinnamon or nutmeg before caramelizing can deepen the flavor complexity.
To work with heat tools safely, you should also review the US Fire Administration’s Kitchen Safety Guidelines.
How to Prepare the Custard Base for Caramelizing Brûlée
The custard base is the foundation of crème brûlée, and its quality significantly impacts the final result. Because of this, preparing it properly is essential before you start caramelizing brûlée.
- Chill Thoroughly
- Always make sure the custard is fully chilled before caramelizing. Chilling prevents the base from melting when exposed to heat.
- Smooth the Surface
- A smooth, flat surface is essential for even sugar application. Use a spatula to level the custard if needed.
- Dust with a Thin Layer of Sugar
- Sprinkle a thin, even layer of sugar over the custard. This layer should not exceed ⅛ inch in thickness to prevent clumping.
For more insights on custard preparation, you can check out What Is Crème Brûlée Made Of?.
Step-by-Step Guide on How to Caramelize Brûlée
Now that you have your tools and ingredients ready, follow these detailed steps to create the perfect caramelized topping:
1. Sprinkle Sugar Evenly
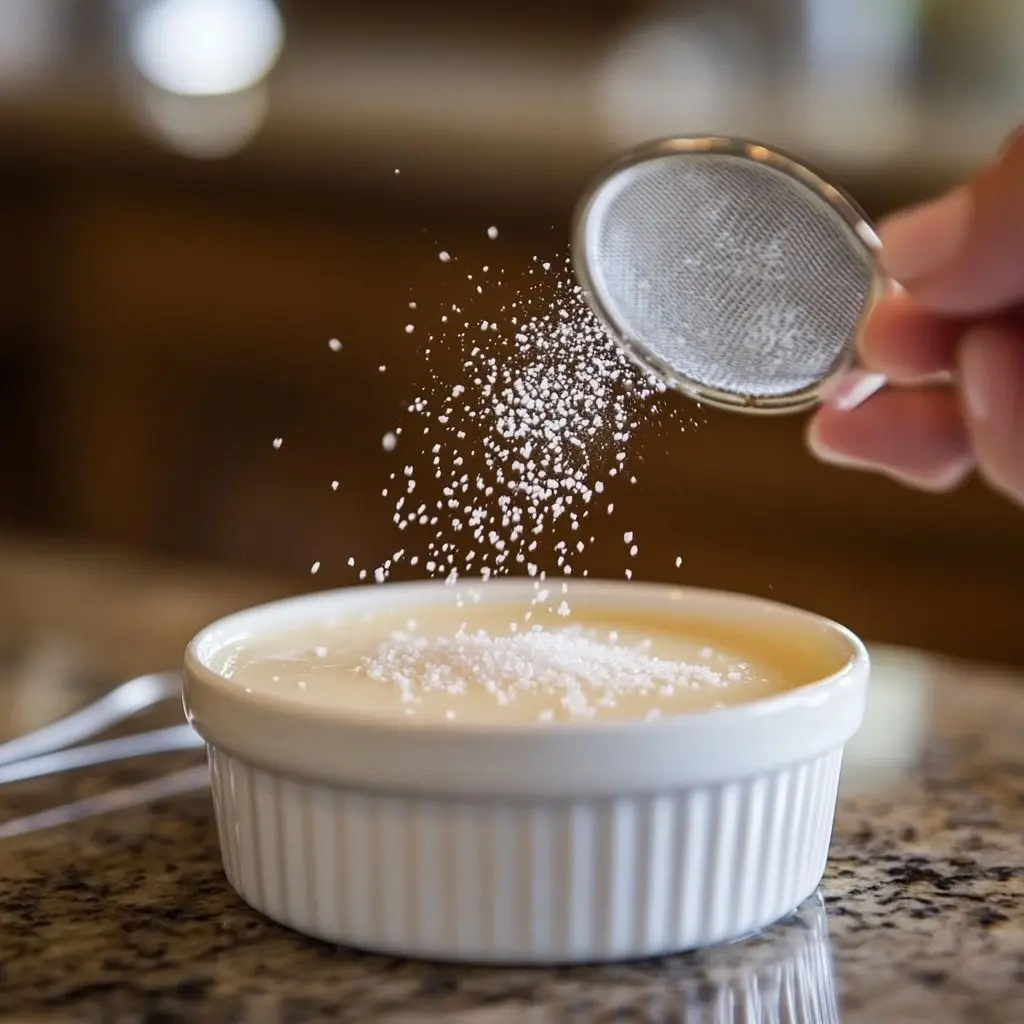
To begin, evenly sprinkle a layer of granulated sugar over the entire surface of the custard. This foundational step is essential for achieving a smooth, consistent caramelized topping.
- Start by measuring the sugar carefully to guarantee the layer is of uniform thickness—typically about 1–2 teaspoons per ramekin.
- Then, gently shake the ramekin from side to side to help the sugar spread evenly across the surface. This guarantees that the custard is fully and evenly coated.
- Alternatively, you can use a fine-mesh sieve to apply the sugar. This method helps avoid clumps and creates a more even distribution.
Taking the time to complete this step thoroughly guarantees a balanced caramelization process later on.
2. Torch the Sugar
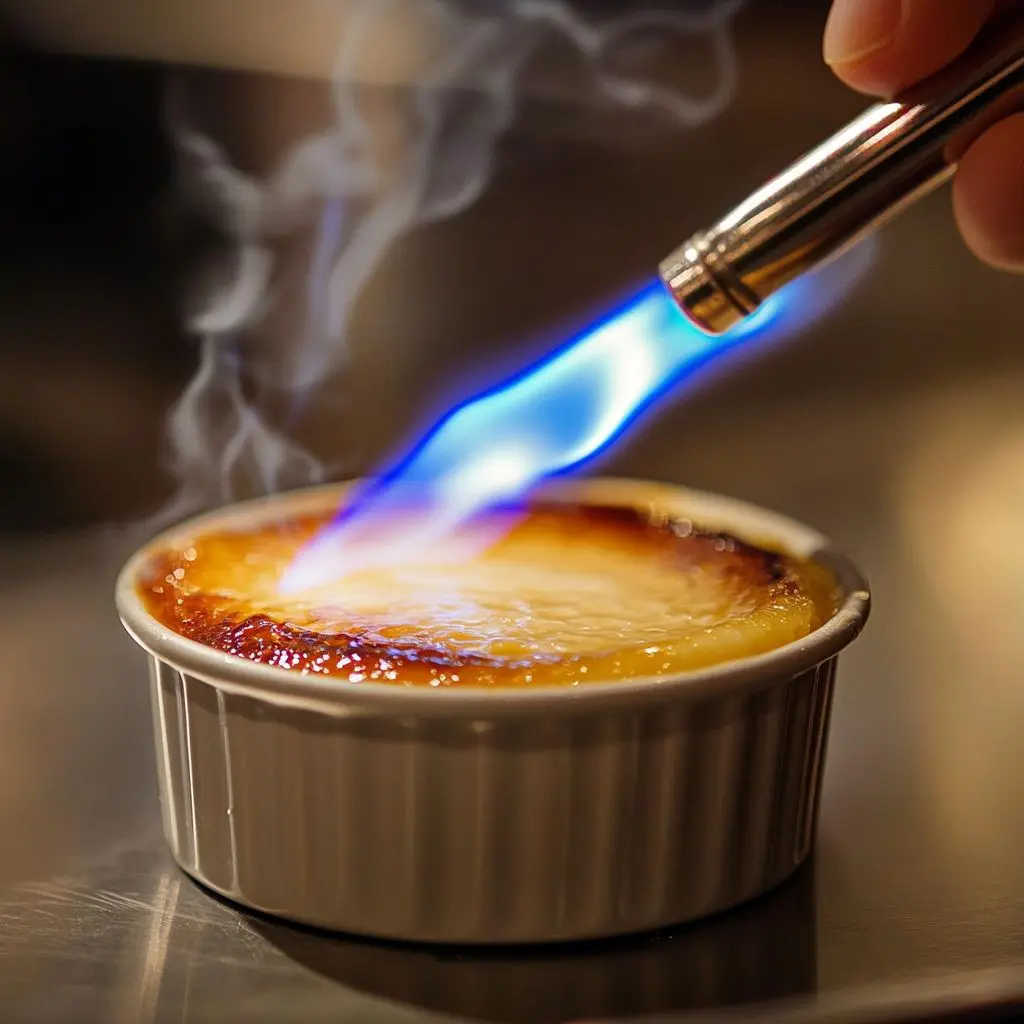
Next, light your culinary torch and hold it approximately 1–2 inches above the sugar-coated surface. This distance allows the flame to melt the sugar without burning it.
- Begin moving the flame in small, circular motions to gently melt the sugar. This technique helps to avoid overheating any single area and guarantees uniform caramelization.
- As the sugar heats, observe its transformation. It will first become clear and then gradually shift to a golden-brown color.
- If you notice any dark spots or uneven caramelization, adjust your technique. You can either reduce the intensity of the flame or adjust your hand’s speed and movement to better control the process.
This step requires patience and attention, as it creates the signature caramel crust that defines the dessert.
3. Cool the Caramel
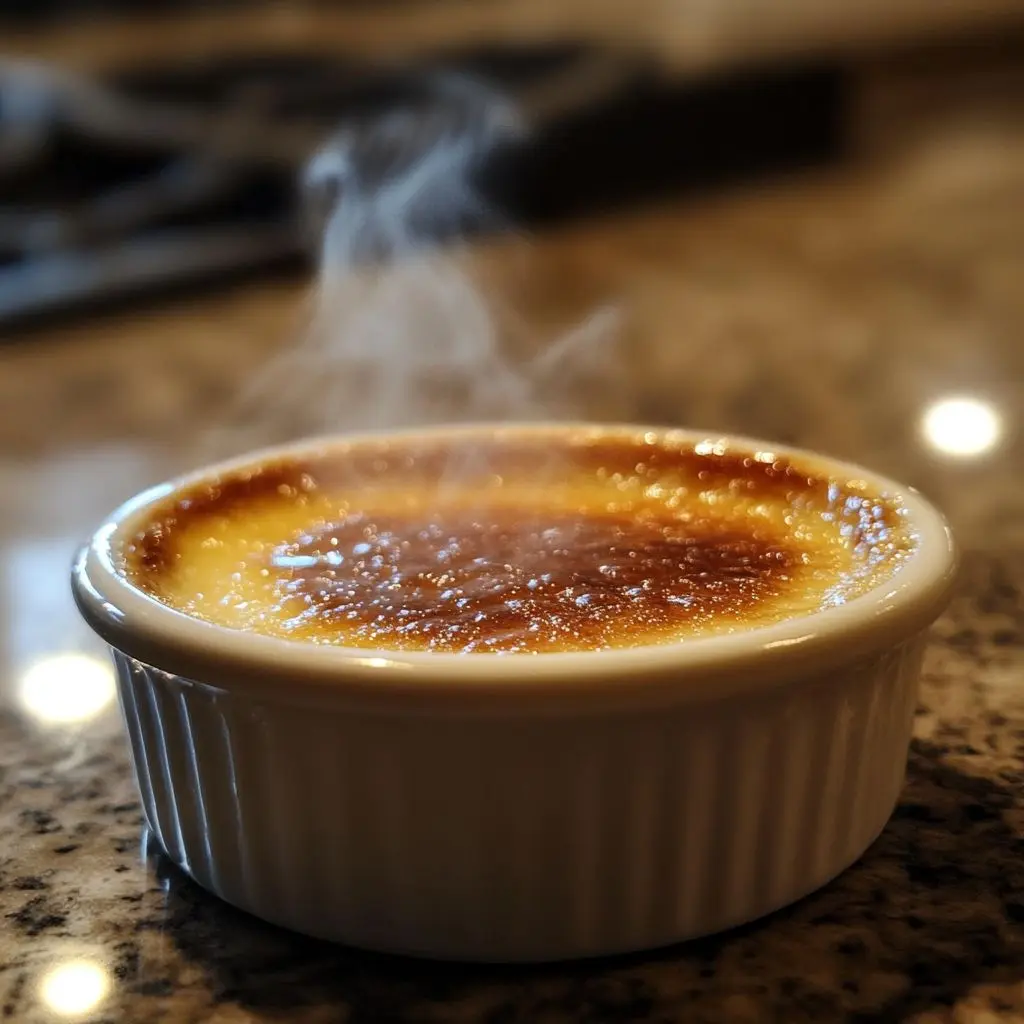
After torching the sugar, allow the caramelized layer to cool for 1–2 minutes. This brief cooling period is important because it allows the melted sugar to harden into the characteristic crisp crust.
- During this time, resist the temptation to touch the caramel, as it will still be very hot and can burn your skin.
- As it cools, you’ll notice the surface becoming firmer and taking on a glass-like texture.
Cooling the caramel properly guarantees the topping will have the desired crunch when it is served.
4. Serve Immediately
Once the caramelized sugar has hardened, it’s essential to serve the dessert right away. The contrast between the crisp, caramelized top and the creamy custard beneath is at its peak when freshly prepared.
- Delaying serving can cause the crust to soften as it absorbs moisture from the custard.
- To maintain the dessert’s full texture and flavor, present it promptly to your guests or enjoy it immediately.
By following these detailed steps, you’ll create a flawless caramelized topping that perfectly complements the rich custard below.
Alternative Methods for Caramelizing Brûlée Without a Torch
If you don’t have a culinary torch, there are alternative methods to achieve a caramelized topping:
Broiler Method to Caramelize Brûlée
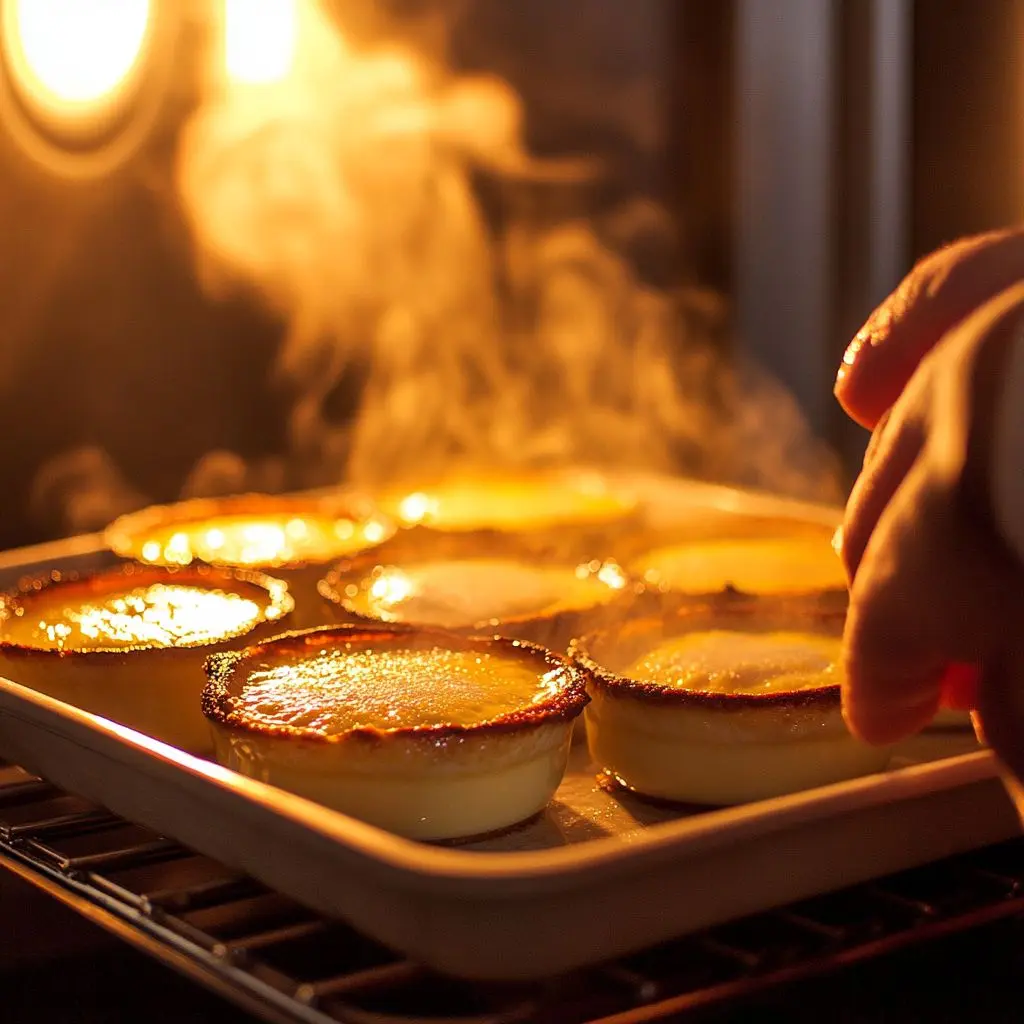
- Preheat the oven broiler on high.
- Place the ramekins on a baking sheet and position them directly under the broiler.
- Broil for 3–5 minutes, watching closely to avoid burning. Rotate the sheet as needed for even browning.
Stovetop Sugar Method
- Melt sugar in a non-stick saucepan over medium heat until golden-brown.
- Carefully pour the melted sugar over the custard. Work quickly, as the sugar hardens within seconds.
Advanced Tips for Perfectly Caramelized Brûlée
For those looking to improve their brûlée-making skills, consider these advanced tips:
- Use a Combination of Sugars
- Mix granulated and turbinado sugar for a balance of smoothness and texture.
- Incorporate Flavors
- Sprinkle a small amount of sea salt, vanilla powder, or citrus zest into the sugar before caramelizing.
- Practice Torch Techniques
- Experiment with torch angles and flame intensity to find the perfect balance.
- Layer the Sugar
- Add a second layer of sugar after the first caramelization for an even crunchier crust.
Common Mistakes to Avoid While Learning How to Caramelize Brûlée
Even with preparation, mistakes can happen. However, most issues are easily fixable with the right techniques:
- Burning the Sugar: Move the torch continuously to avoid overheating a single spot.
- Uneven Caramelization: Always distribute the sugar evenly and use a steady hand while torching.
- Soggy Topping: Caramelize just before serving, as refrigeration softens the crust.
FAQs About How to Caramelize Brûlée
1. What sugar is best for caramelizing brûlée?
When it comes to caramelizing brûlée, superfine granulated sugar works best. In particular, this type of sugar melts evenly and forms a smooth caramel layer, which is crucial for achieving that signature crunch. Moreover, while regular granulated sugar can be used, superfine sugar guarantees more consistent results. Alternatively, if you’re seeking a subtle flavor variation, you could try raw sugar, though it may take slightly longer to caramelize.
2. Why isn’t my sugar caramelizing properly?
There are several reasons your sugar might not caramelize as expected. For instance, your sugar could be too coarse, which makes it harder to melt evenly. Additionally, your torch or broiler might not be providing enough heat. On the other hand, moisture in the sugar or on the brûlée’s surface may also prevent proper caramelization. To resolve this, make sure the sugar layer is thin and the custard is dry before applying heat. Furthermore, be patient and use a steady hand when torching.
3. Can I prepare brûlée in advance?
Yes, you can absolutely prepare brûlée in advance! Specifically, the custard base can be made and refrigerated for up to 2-3 days before serving. However, it’s important to note that the caramelized sugar topping should only be added just before serving. Otherwise, the sugar will absorb moisture from the custard, losing its crispness. For best results, prepare the custard early, but caramelize the sugar layer at the last moment to maintain the dessert’s iconic texture.
4. What’s an alternative to a torch?
If you don’t have a torch, you can still caramelize your brûlée using a broiler. First, place the custard dishes on a baking sheet and sprinkle an even layer of sugar on top. Next, position the sheet a few inches below the broiler. Then, carefully monitor the sugar as it melts and turns golden brown. Alternatively, some people use a heated metal spoon pressed onto the sugar, though this method requires precision and care to avoid burning.
Conclusion: Mastering How to Caramelize Brûlée
Caramelizing crème brûlée is both an art and a science, requiring patience, precision, and practice. By following this guide, you’ll master how to caramelize brûlée and achieve a professional-quality dessert that delights both the palate and the senses. Whether you use a torch, broiler, or stovetop, the key lies in understanding the process and experimenting with flavors.
For more dessert ideas and inspiration, visit Pacific Recipes. With time and effort, you’ll create brûlée masterpieces that impress every time!

3 thoughts on “How to Caramelize Brûlée Perfectly: A Step-by-Step Guide”